Organic Organic Baby Activity Gym For 1 Year Old
DIY Wooden Baby Gym Step-by-Step for 2025
Creating a DIY wooden baby gym is a rewarding project that not solely saves cash but also permits you to customise a play space for your baby. In this information, we’ll stroll you thru each step of the process, making certain you have all the data wanted to build a sturdy and beautiful baby gym.
Why Choose a DIY Wooden Baby Gym?
- wood play gymsA DIY wooden baby gym provides quite a few benefits over store-bought choices: https://poppyseedplay.com/products/wooden-baby-gym - all natural wooden baby toys
- childs play gym- Customization: Tailor the design and colors to match your nursery decor. Quality Supplies: Choose safe and durable wood for peace of thoughts. Cost-Effective: Save money by creating your personal as an alternative of buying high-priced fashions. Creative Management: Add personal touches similar to toys and accessories.
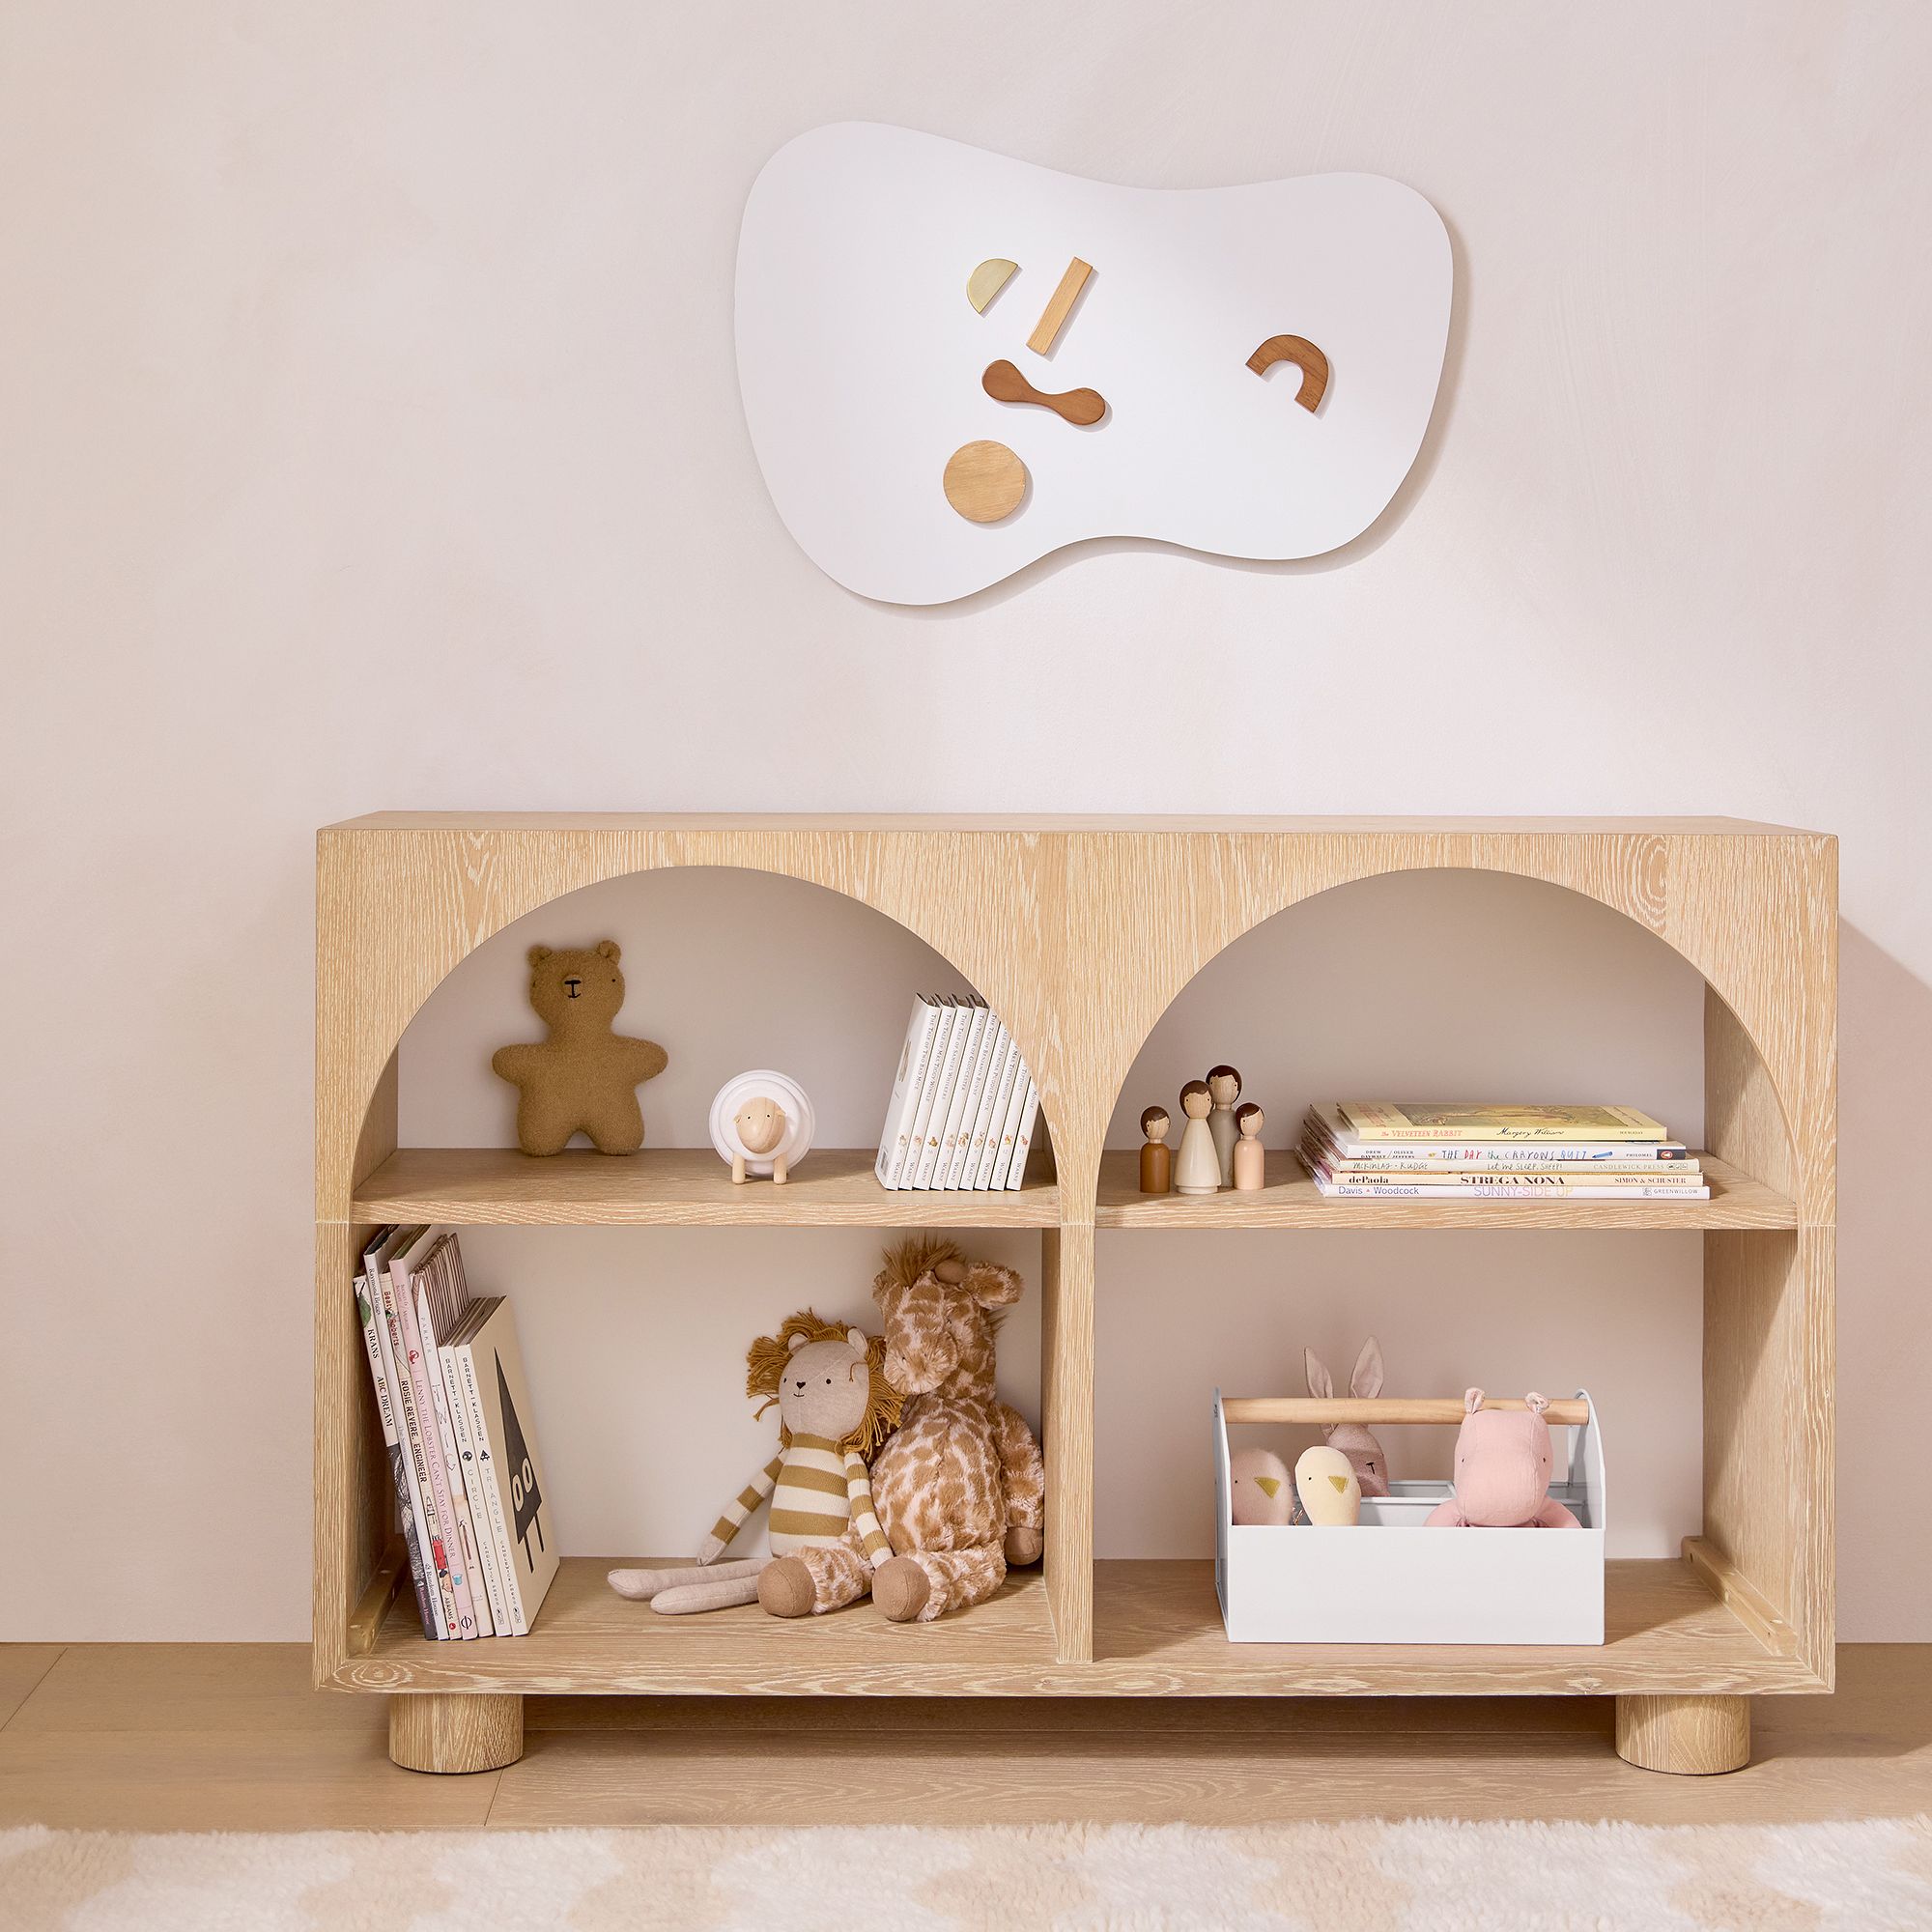
Affordable Girl Activity Gym For Standing Babies
Materials Needed for Your Baby Gym
Before beginning your project, gather all needed materials:
- Wooden dowels (1-inch diameter) Wood planks (for base) Screws and wood glue Sandpaper Non-toxic wood end or paint Fabric or plastic rings for hanging toys Assorted baby-safe toys
Tools Required for Construction
Having the proper instruments readily available can make your building expertise smoother:
- Drill with drill bits Screwdriver Miter saw or hand saw Measuring tape Square for exact cuts Pencil for marking measurements
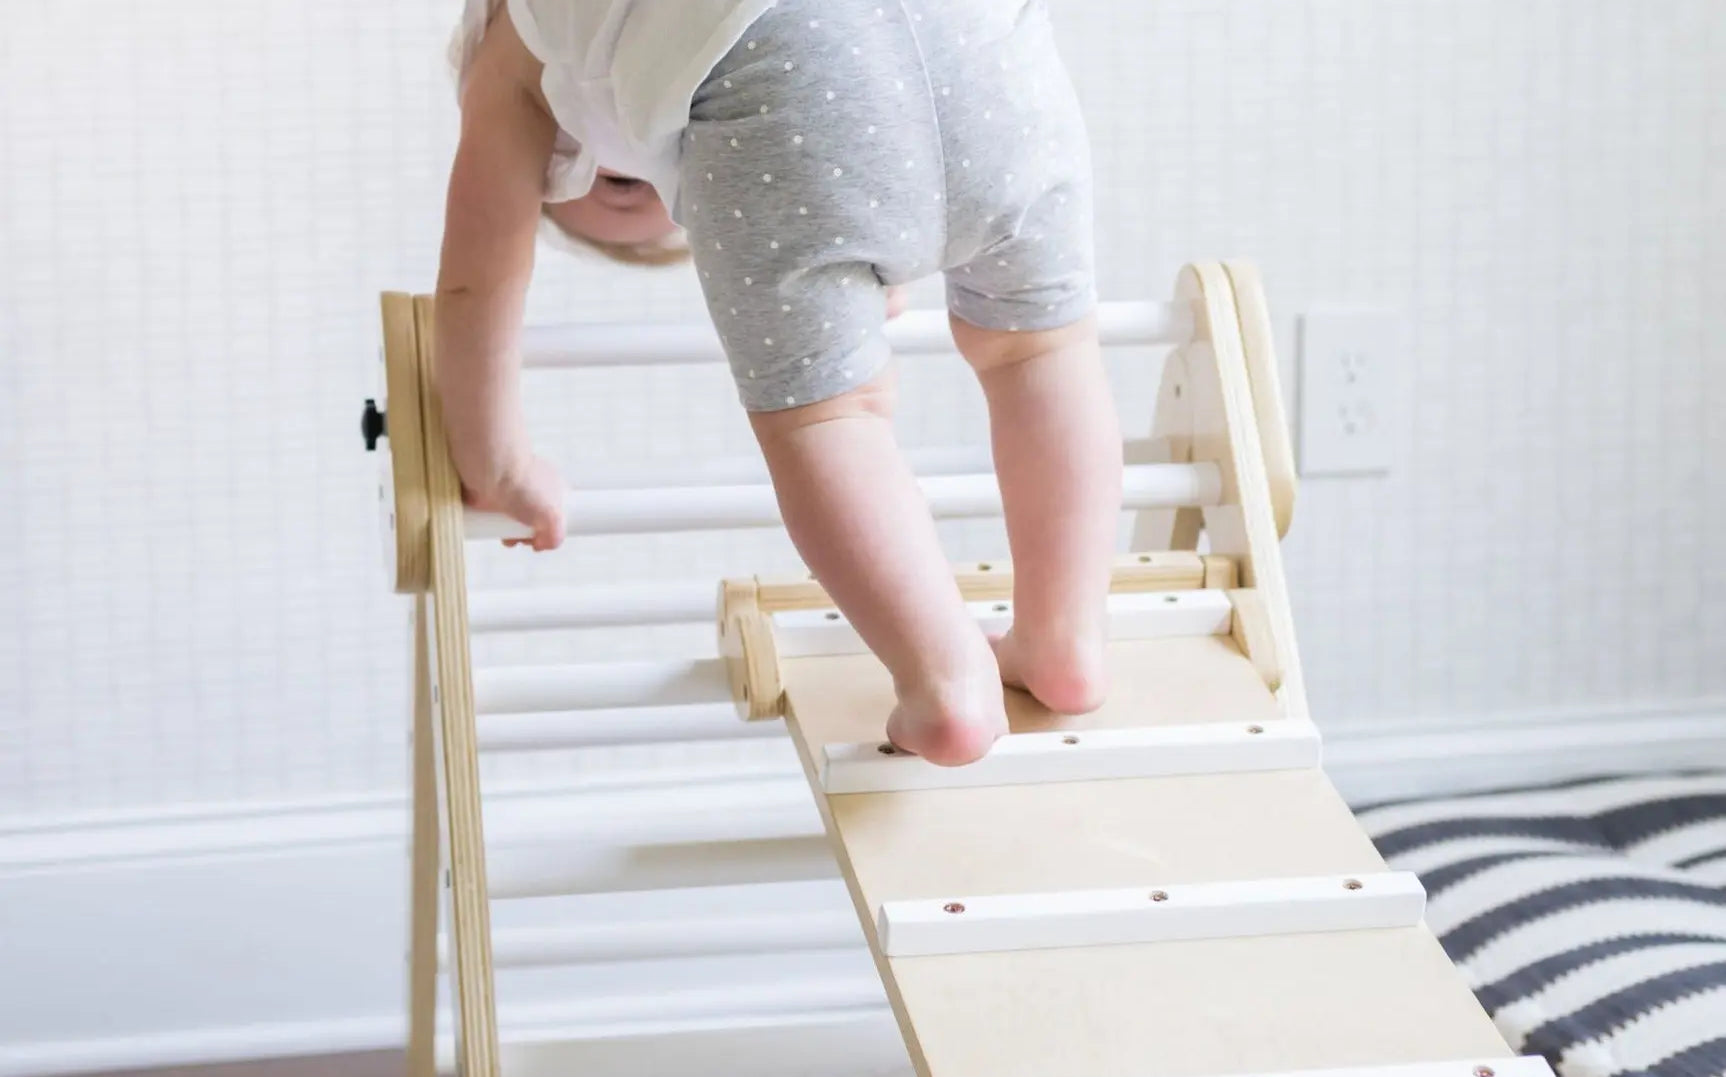
High Quality Activity Gym Age For Interactive Play
Step 1: Measuring and Cutting the Wood
The first step in creating your wooden baby gym includes exact measurements:
- Cut two lengthy pieces for the vertical supports (about 30 inches). Cut two shorter pieces for the base (approximately 24 inches). Optionally, reduce further items for ornamental elements.
Ensure all cuts are easy and even to take care of security requirements for your baby gym.
Step 2: Assembling the Base
Sturdy meeting is crucial for security:
- Position the two shorter items parallel to one another and attach them to the longer vertical helps. Use screws and wood glue for a stable connection. Double-check the stability of the structure earlier than continuing.
Step three: Attaching the Horizontal Dowels
This step offers the framework for hanging toys:
- Drill holes into the vertical helps the place you wish to place the dowels. Insert the wooden dowels horizontally across the top for hanging toys. Secure them with wood glue and reinforcements if necessary.
Step 4: Sanding and Finishing
baby gym ages of use.Sanding is essential to make sure there are not any tough edges: eco baby gym.
macrame play gym toys.- Use sandpaper to clean out all surfaces and edges of the gym. Apply a non-toxic finish or paint once sanding is complete. Allow the finish to dry fully before using the gym.
Space Saving Boppy Activity Gym For Enhancing Creativity
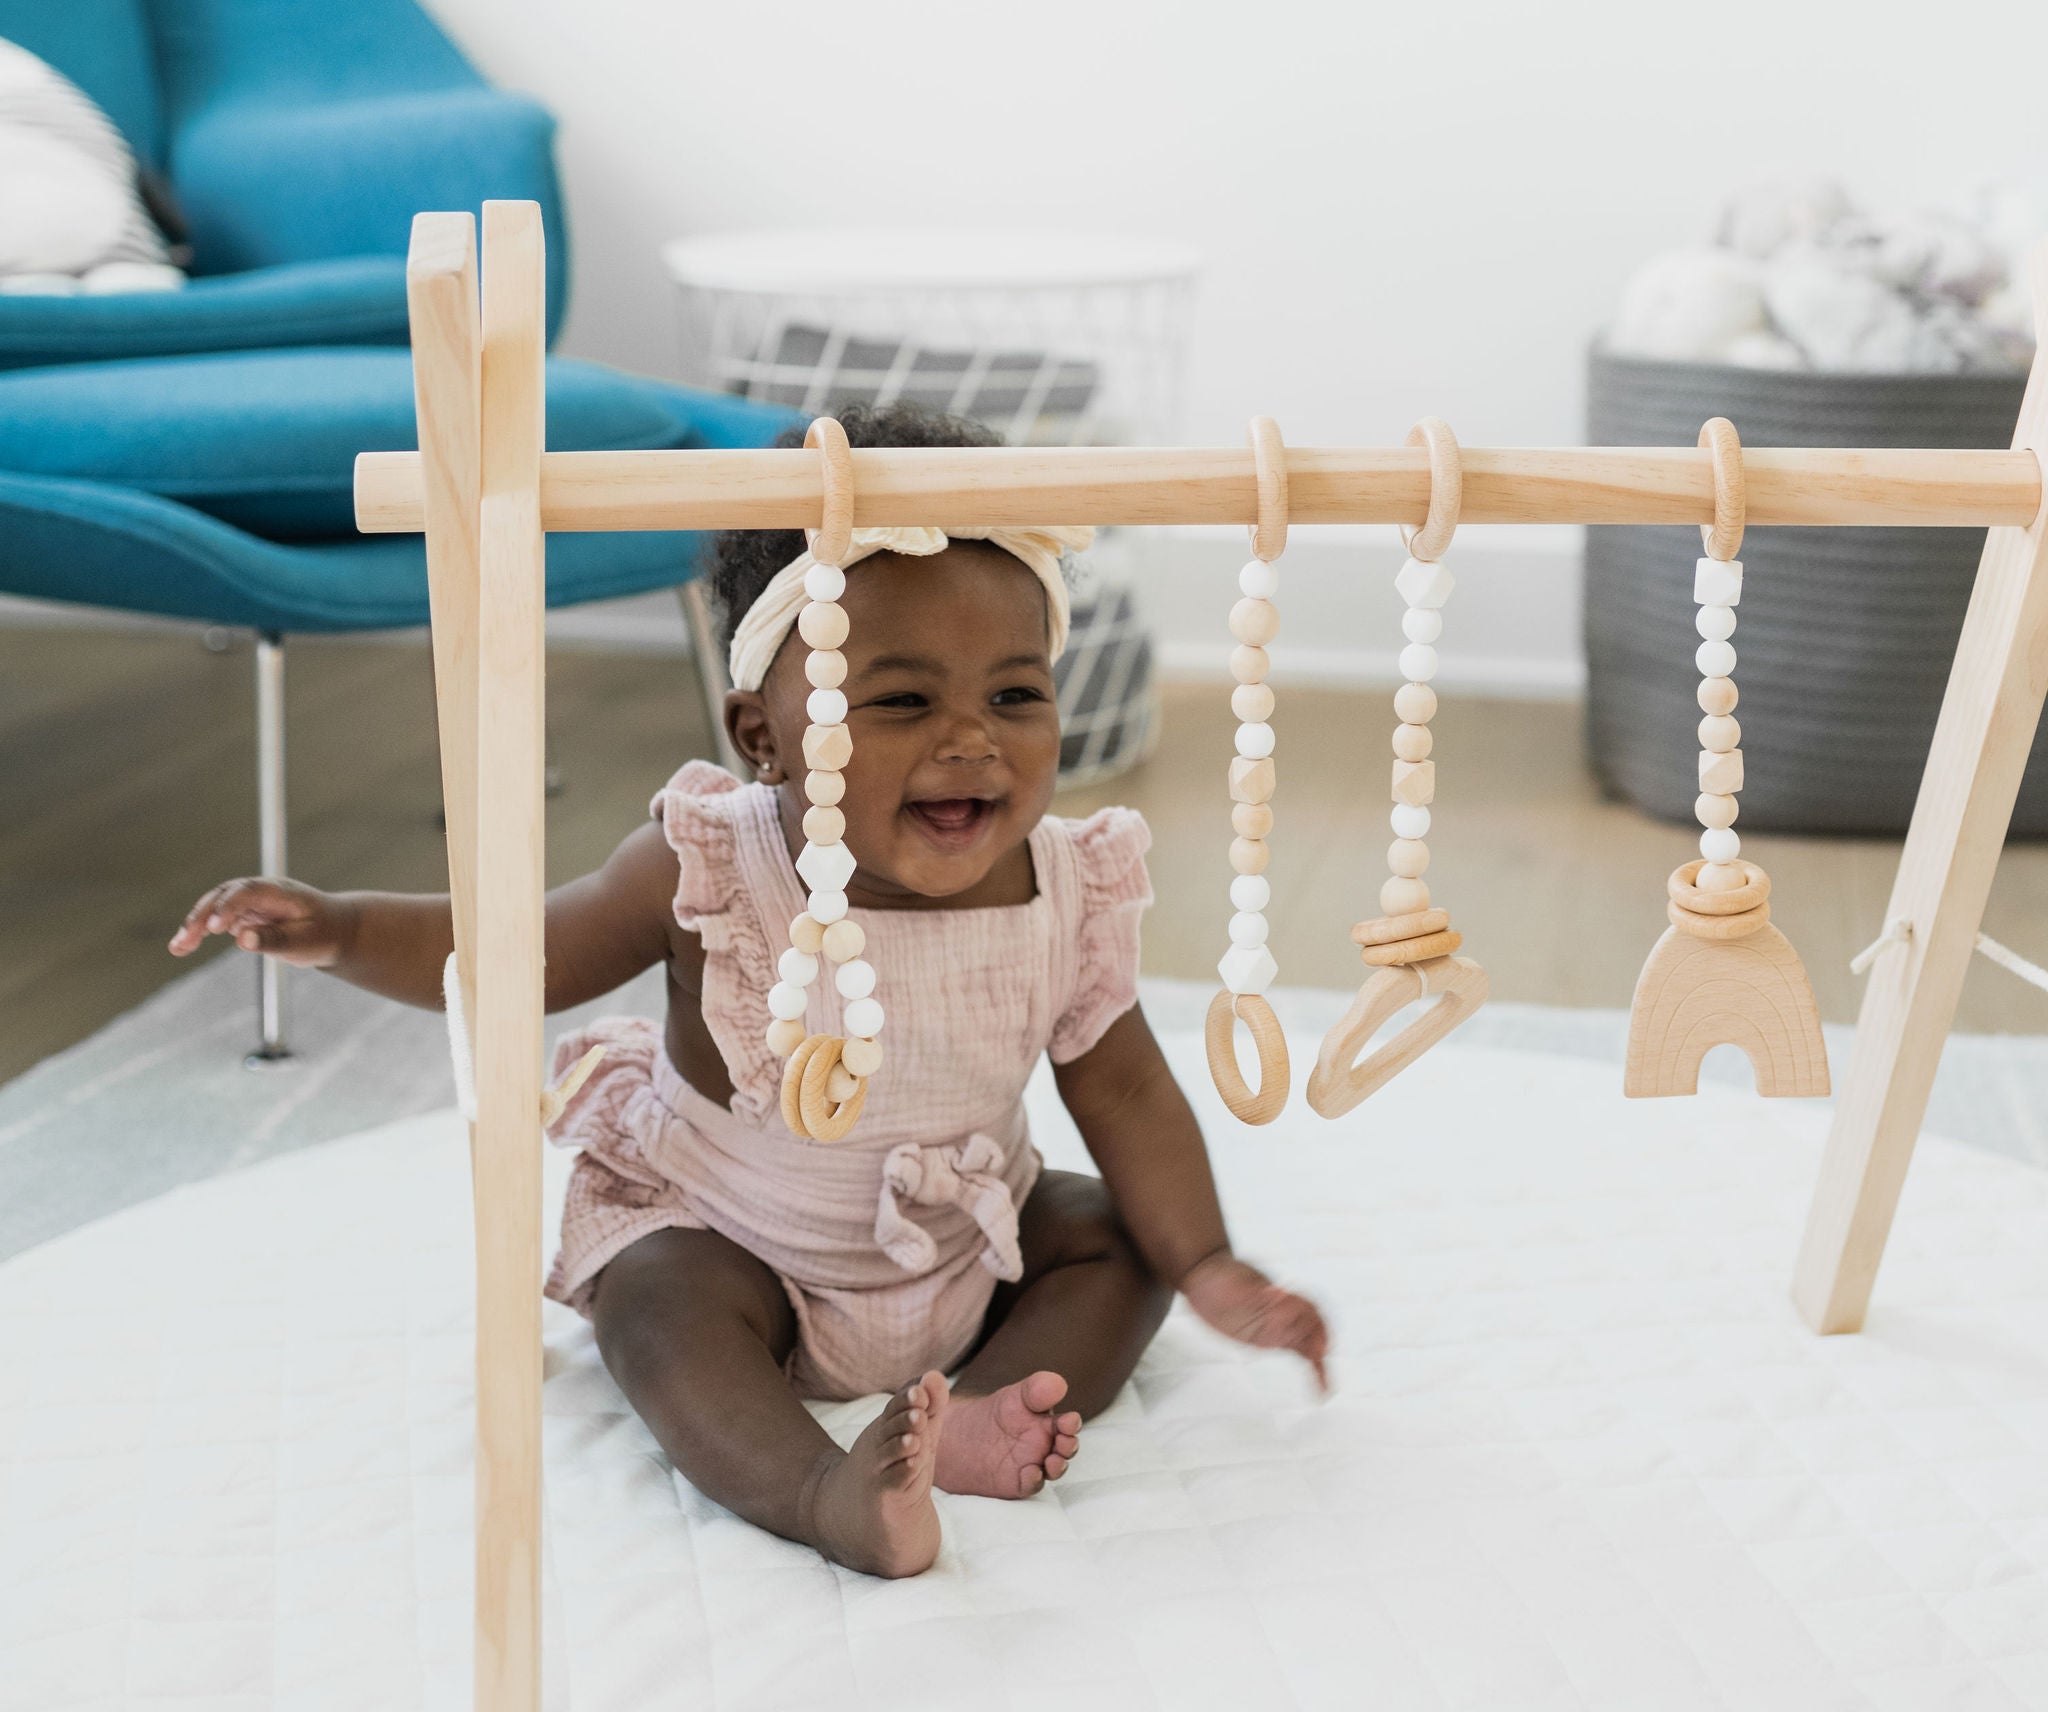
Step 5: Including Toys and Accessories
Now comes the fun half – decorating your baby gym!
- Use cloth or plastic rings to hang an array of colorful toys. Choose toys that stimulate sensory development, similar to rattles and plush items. Consider adding mirrors or textured materials for extra engagement.
Safety Considerations
baby play gym online.When creating a space for your baby, security ought to at all times be your precedence: best baby play gym reviews.
activity gyms infants.- Check for any sharp edges and sand them down completely. Ensure that every one attachments are secure and cannot be easily eliminated by curious little arms. Regularly examine the gym for put on and tear as your baby grows.
Conclusion
Building a DIY wooden baby gym just isn't only a creative endeavor but additionally a practical answer on your baby's playtime wants. By following these steps and prioritizing security, you’ll create a singular and interesting surroundings for exploration.
Start gathering your materials at present, and let your creativity shine while crafting a particular piece on your child’s growth and enjoyment!